WebDAV via a Client
Unlike Windows and Linux where the default file system supports WebDAV, MacOS' Finder is different on the new OpenShift cloud infrastructure. In order to increase accessibility and general ease of use, we recommend downloading and installing the open-source client Cyberduck. This can be done by accessing https://cyberduck.io/. Kindly note that Cyberduck is available for both MacOS and Windows. Users who wish to use a graphical user interface may thus prefer Cyberduck. The necessary steps are identical across both platforms.
This guide assumes Cyberduck version 8.0.0 or later.
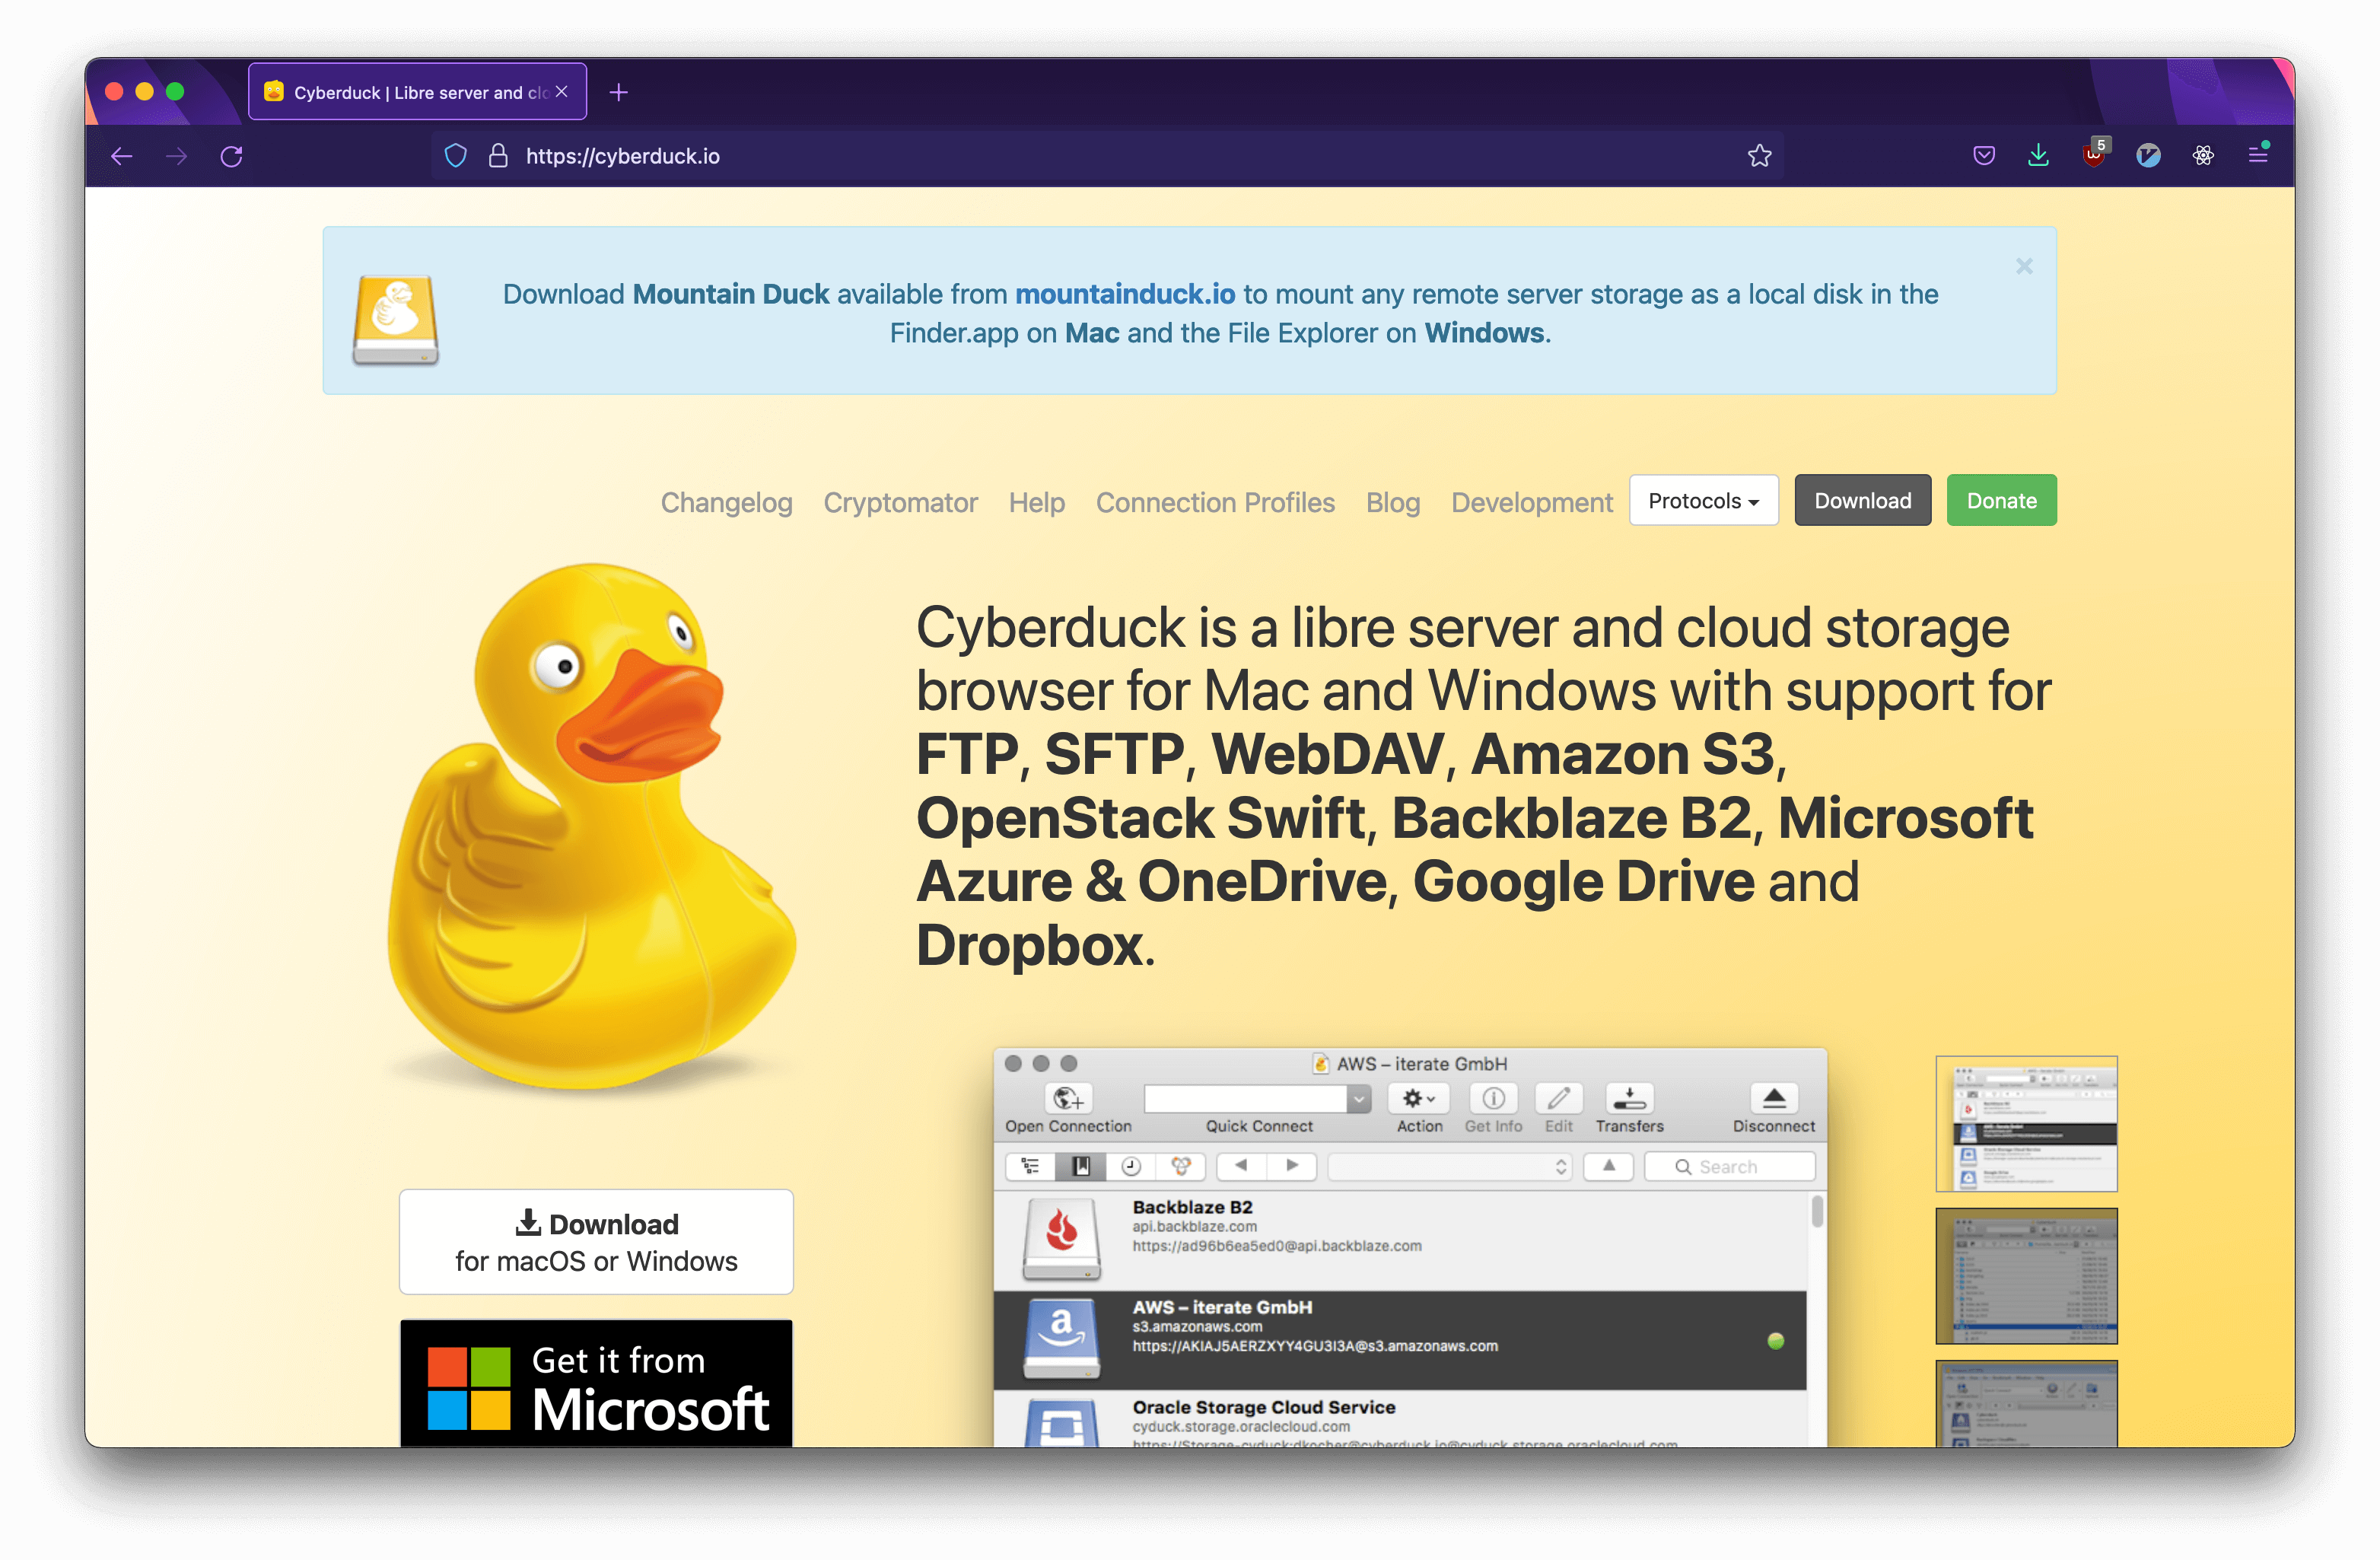
The Cyberduck.io frontpage.
- With Cyberduck installed, proceed by opening it and creating a New Bookmark.
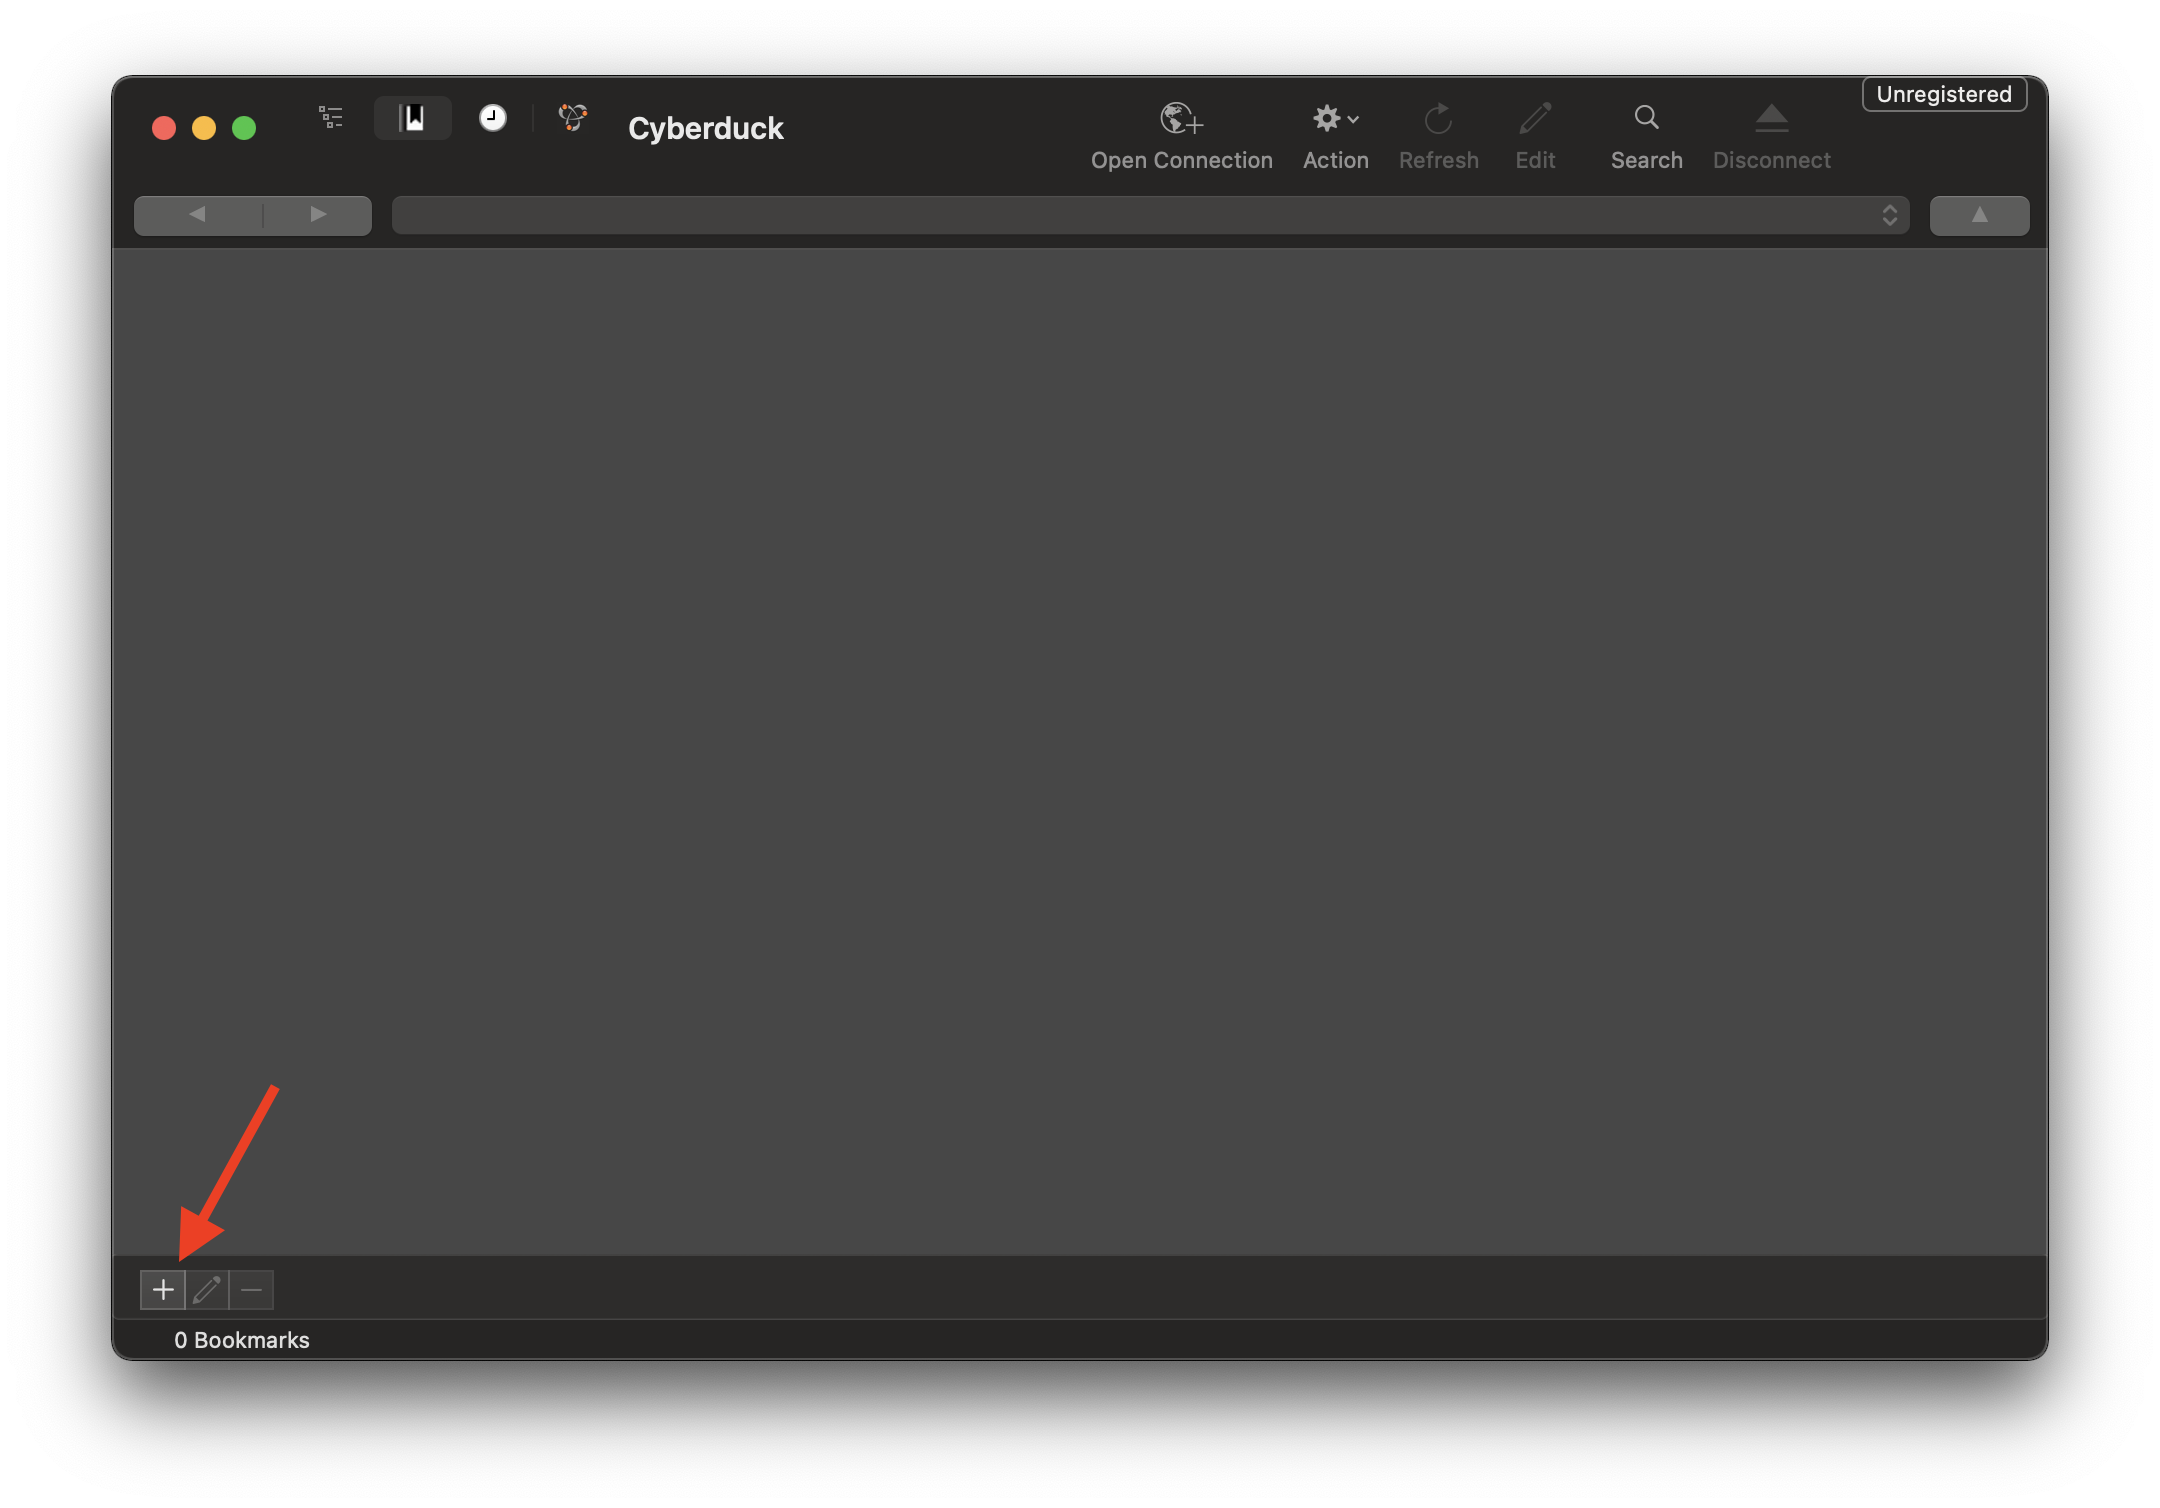
Creating a new bookmark.
For the next step, please have your WebDAV password on hand.
- Select WebDAV (HTTPS) in the top drop-down menu. If you have not unfolded More Options, do this too.
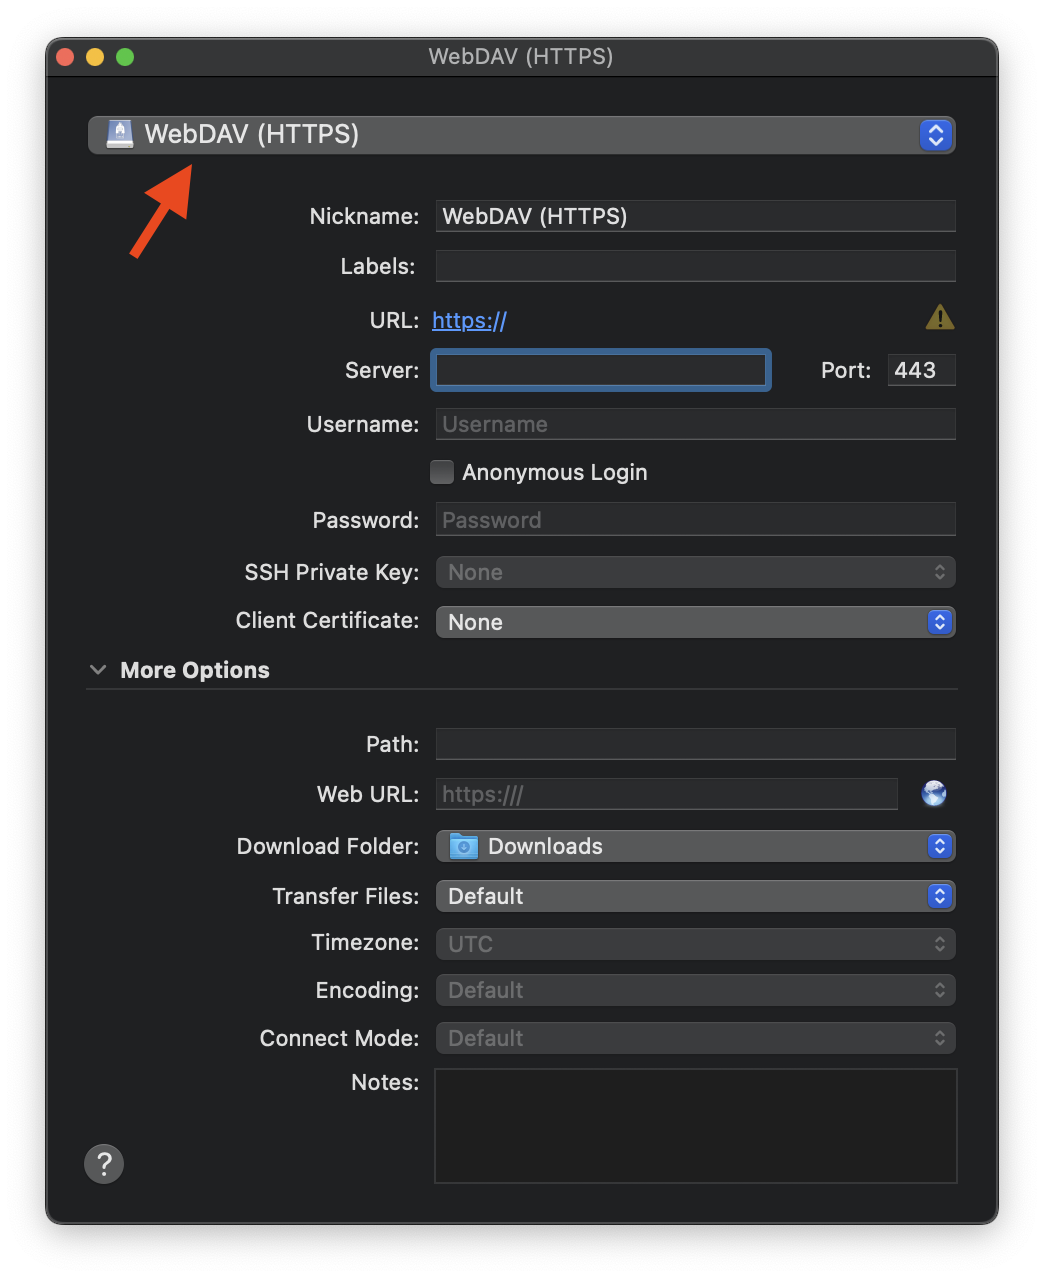
Selecting WebDAV (HTTPS).
If, for instance, you wish to connect to https://hr.cern.web.ch/'s WebDAV, the following fields must be entered:
Server: hr.web.cern.ch
Username: admin
Password: <randomly_generated_password>
Path: _webdav
If you do not see the Path field, please unfold More Options.
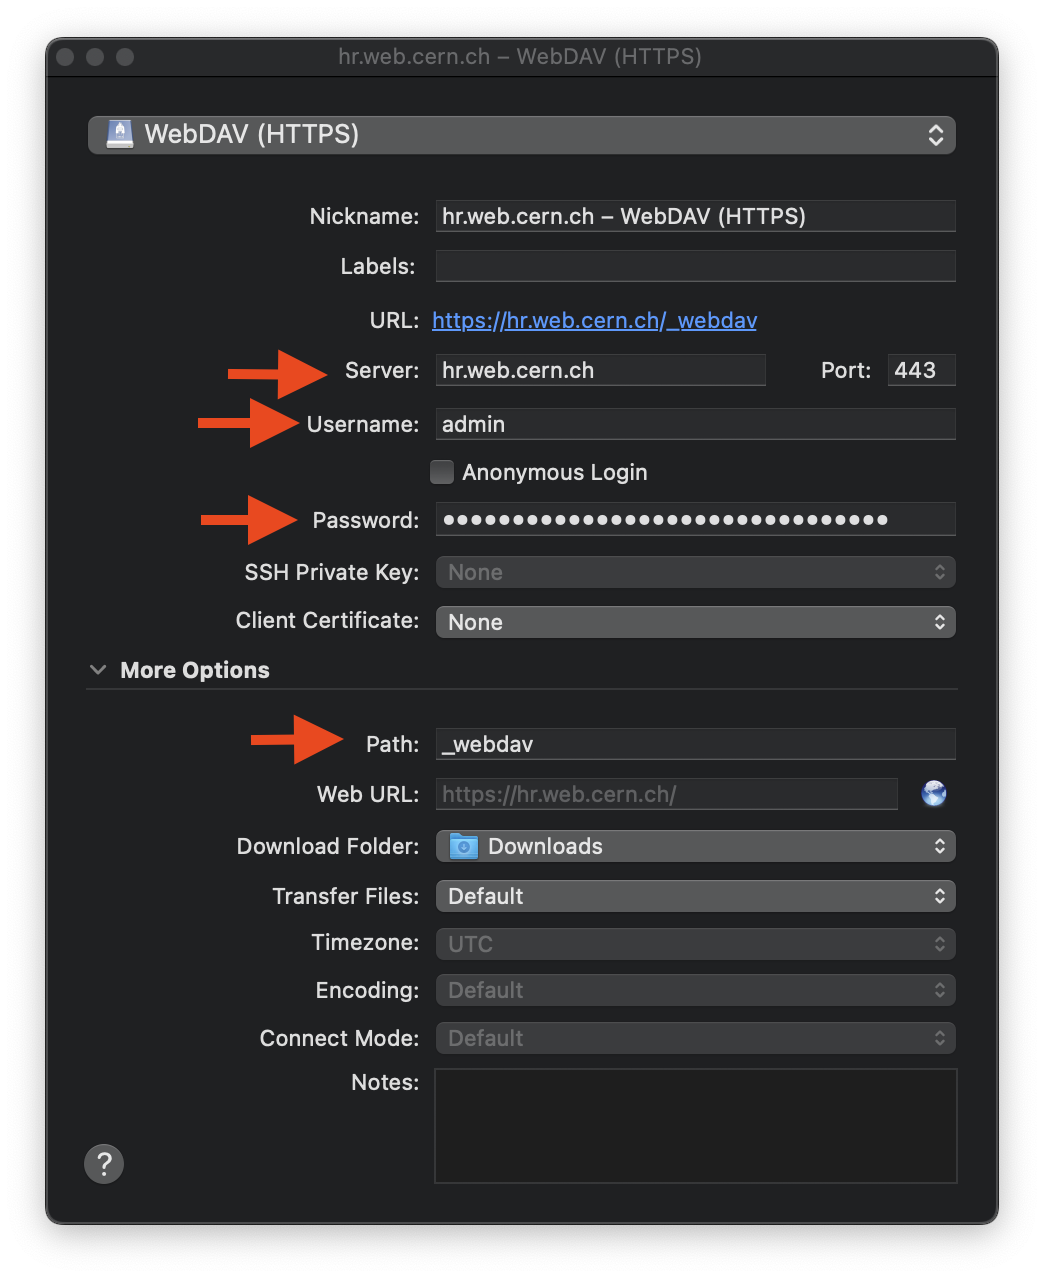
Configuring the WebDAV (HTTPS) connection.
Close the settings window.
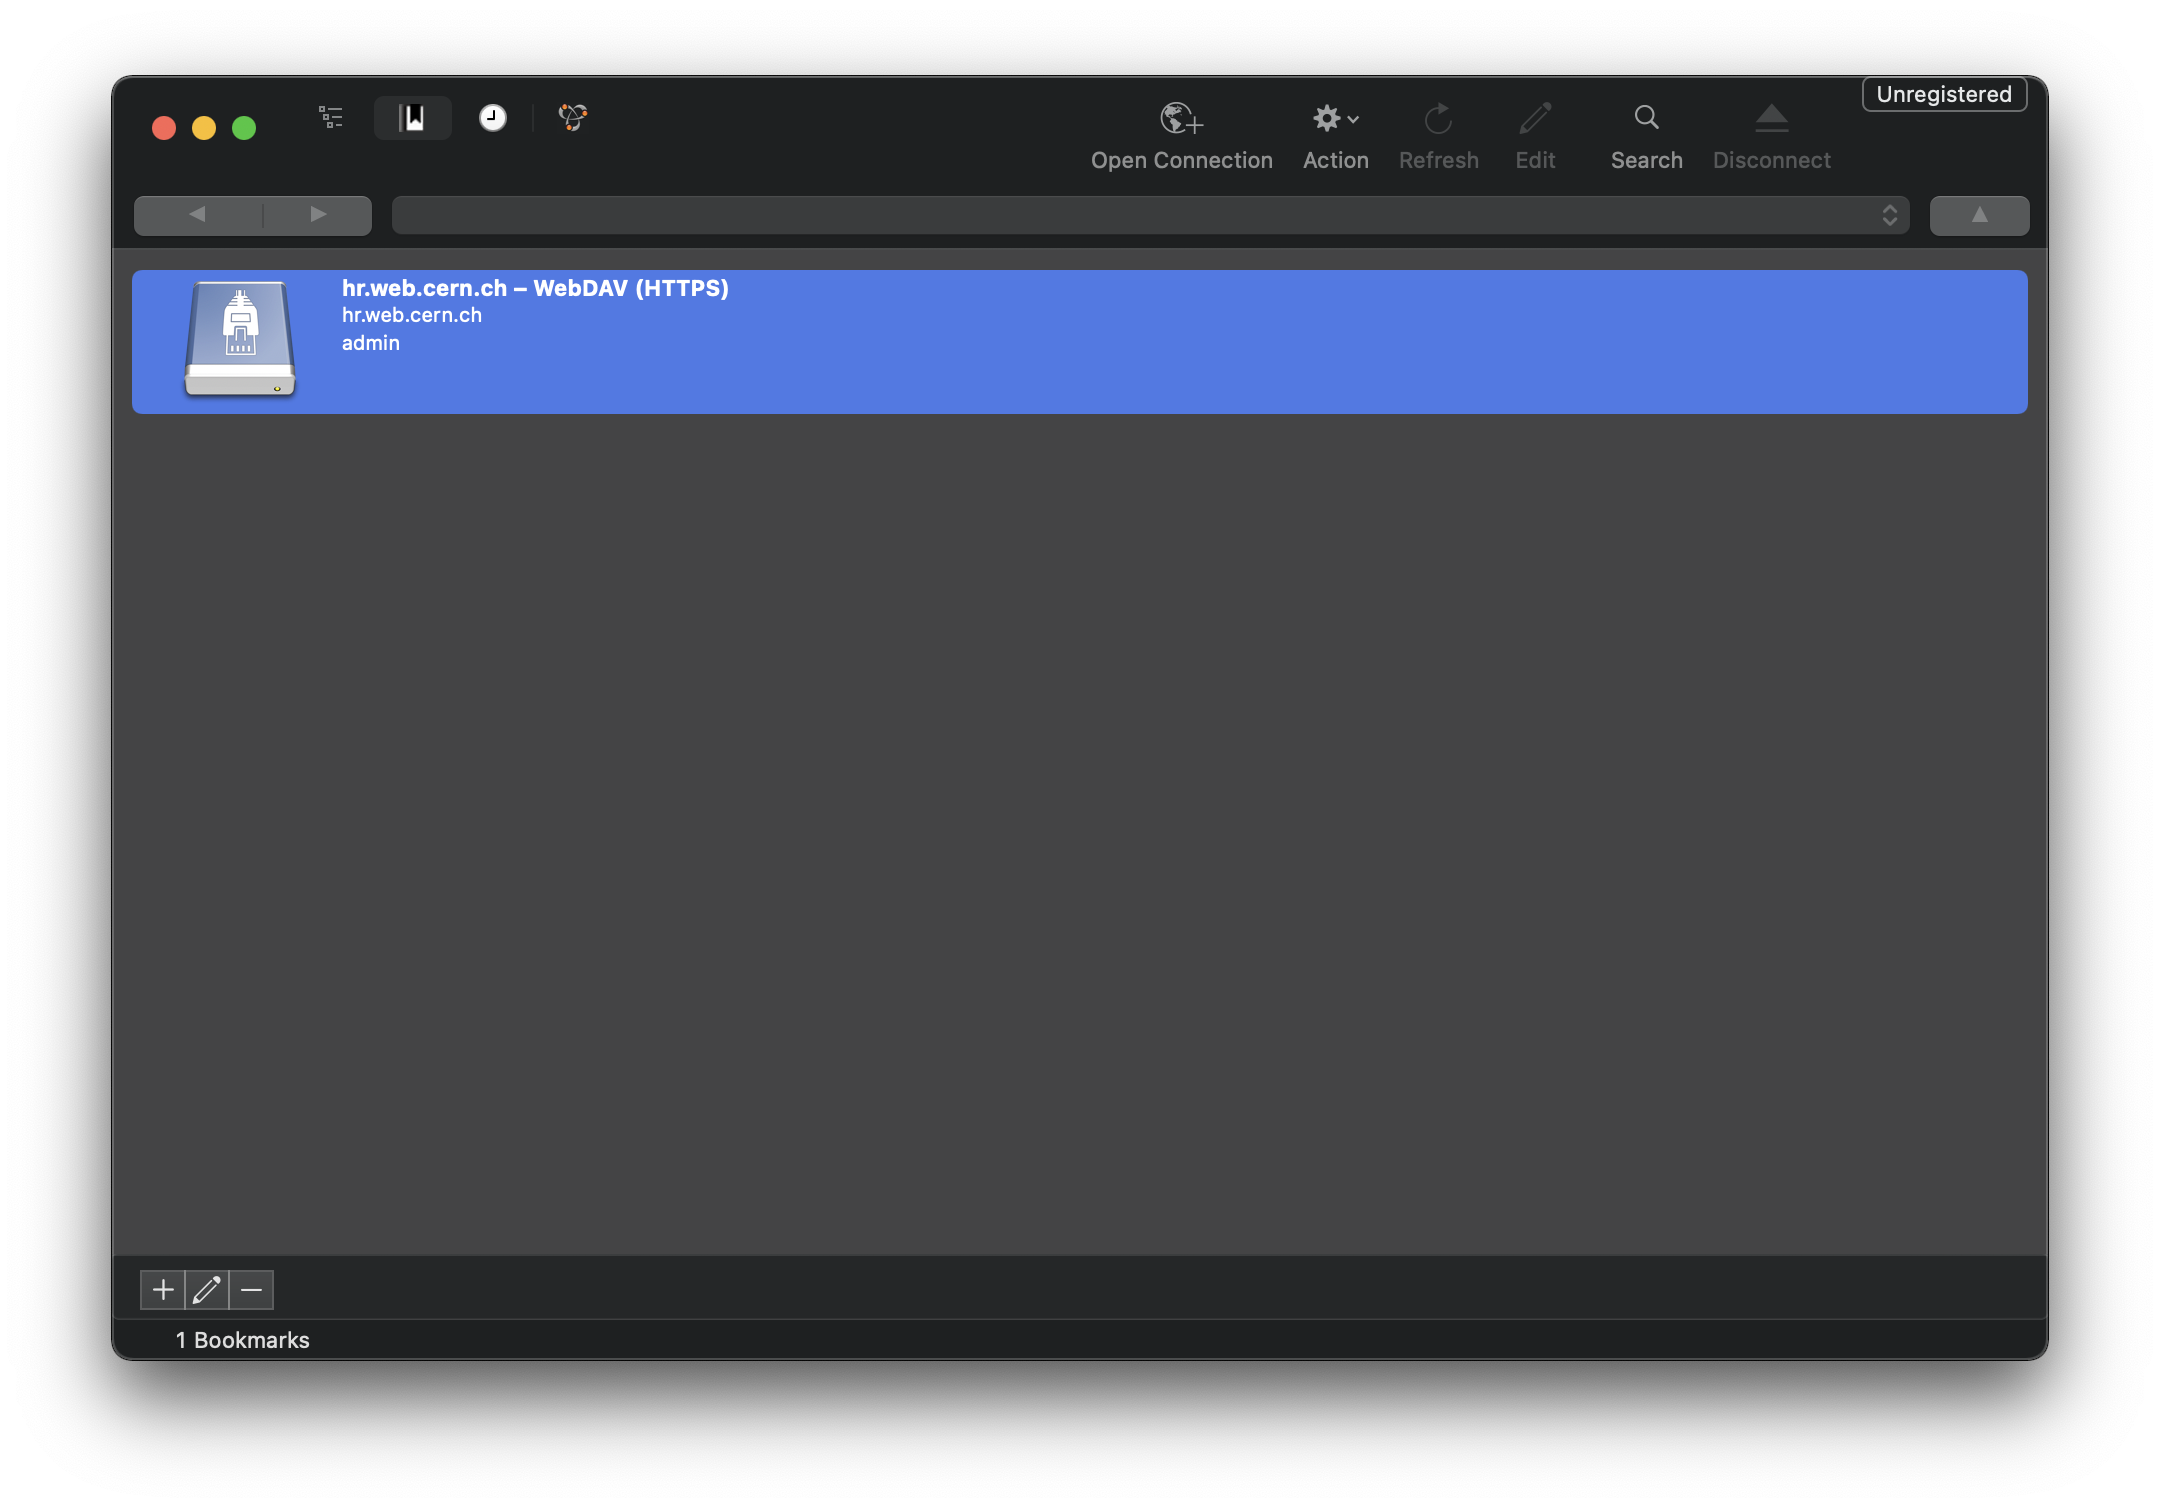
Double-click on the bookmark you just created to connect.
Configuring the WebDAV (HTTPS) connection.
You now have WebDAV access to your website.